
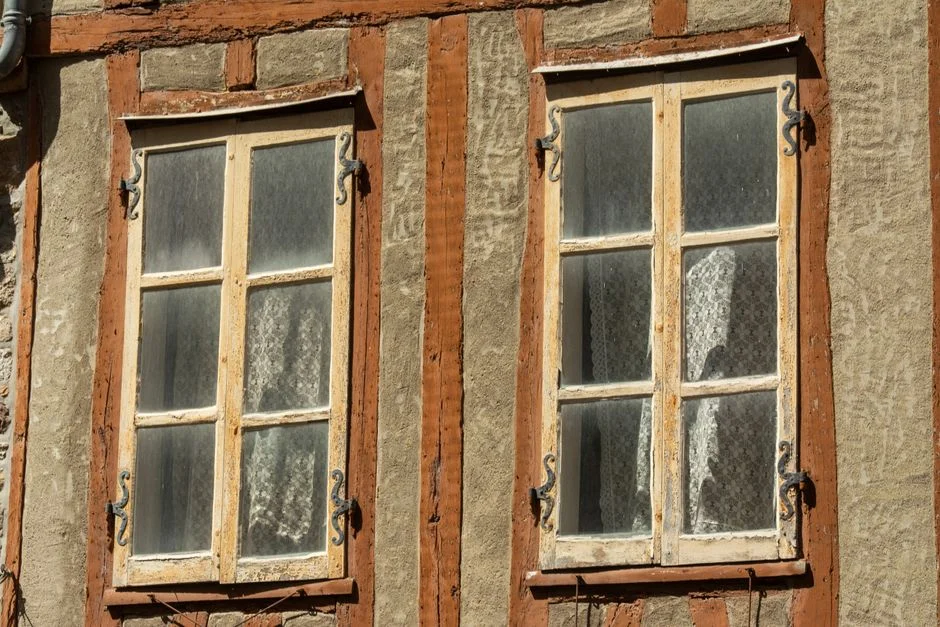
Your Old Wood Windows Are Worth More Than You Think wood window refinishing Wood window refinishing is the process of restoring worn, weathered, or damaged wooden window frames and sashes
Your Old Wood Windows Are Worth More Than You Think
Wood window refinishing is the process of restoring worn, weathered, or damaged wooden window frames and sashes back to their original condition — without replacing them.
Here’s a quick overview of what the process involves:
| Step | What Happens |
|---|---|
| Assessment | Inspect for rot, paint failure, and glazing damage |
| Safe prep | Test for lead paint; set up proper containment |
| Stripping | Remove old paint and glazing putty |
| Repair | Fill damaged wood with epoxy filler |
| Reglazing | Reset glass with fresh glazing putty |
| Finishing | Prime, paint, and weatherize |
If your New Jersey home has older wood windows, you’ve probably noticed the signs: peeling paint, drafty gaps, sticky sashes, or soft rotted wood around the sill. It’s easy to assume replacement is the only fix — especially with all the vinyl window ads out there.
But here’s the thing: your original wood windows may be the best windows your home will ever have.
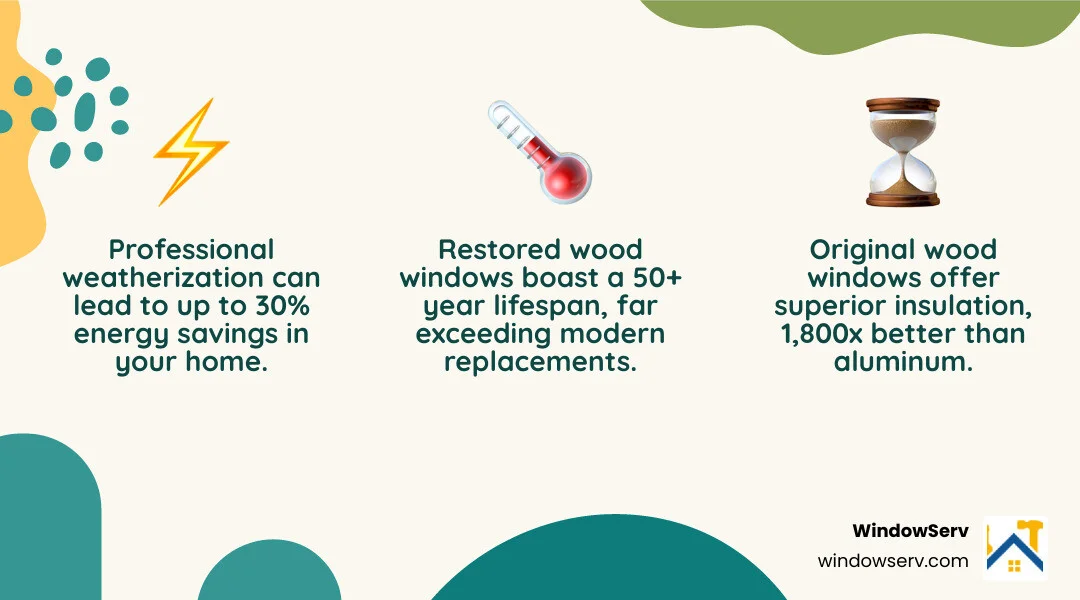
Historic wood windows were often made from old-growth timber — dense, tight-grained wood with natural decay resistance that modern lumber simply can’t match. A properly refinished wood window, with fresh glazing and good paint, can deliver another 30 years of service. And unlike vinyl or aluminum, natural wood insulates 400 times better than steel frames and 1,800 times better than aluminum.
Refinishing isn’t just a cost-saving move. It’s the smarter long-term choice for performance, character, and value.
I’m Feiruz Gabibov, Chief Operating Officer of WindoServ, and through my work overseeing hundreds of window restoration projects across New Jersey, I’ve seen how wood window refinishing can transform a tired, drafty home into one that’s efficient, beautiful, and built to last. In this guide, I’ll walk you through everything you need to know — from safe lead paint handling to the final coat of paint.
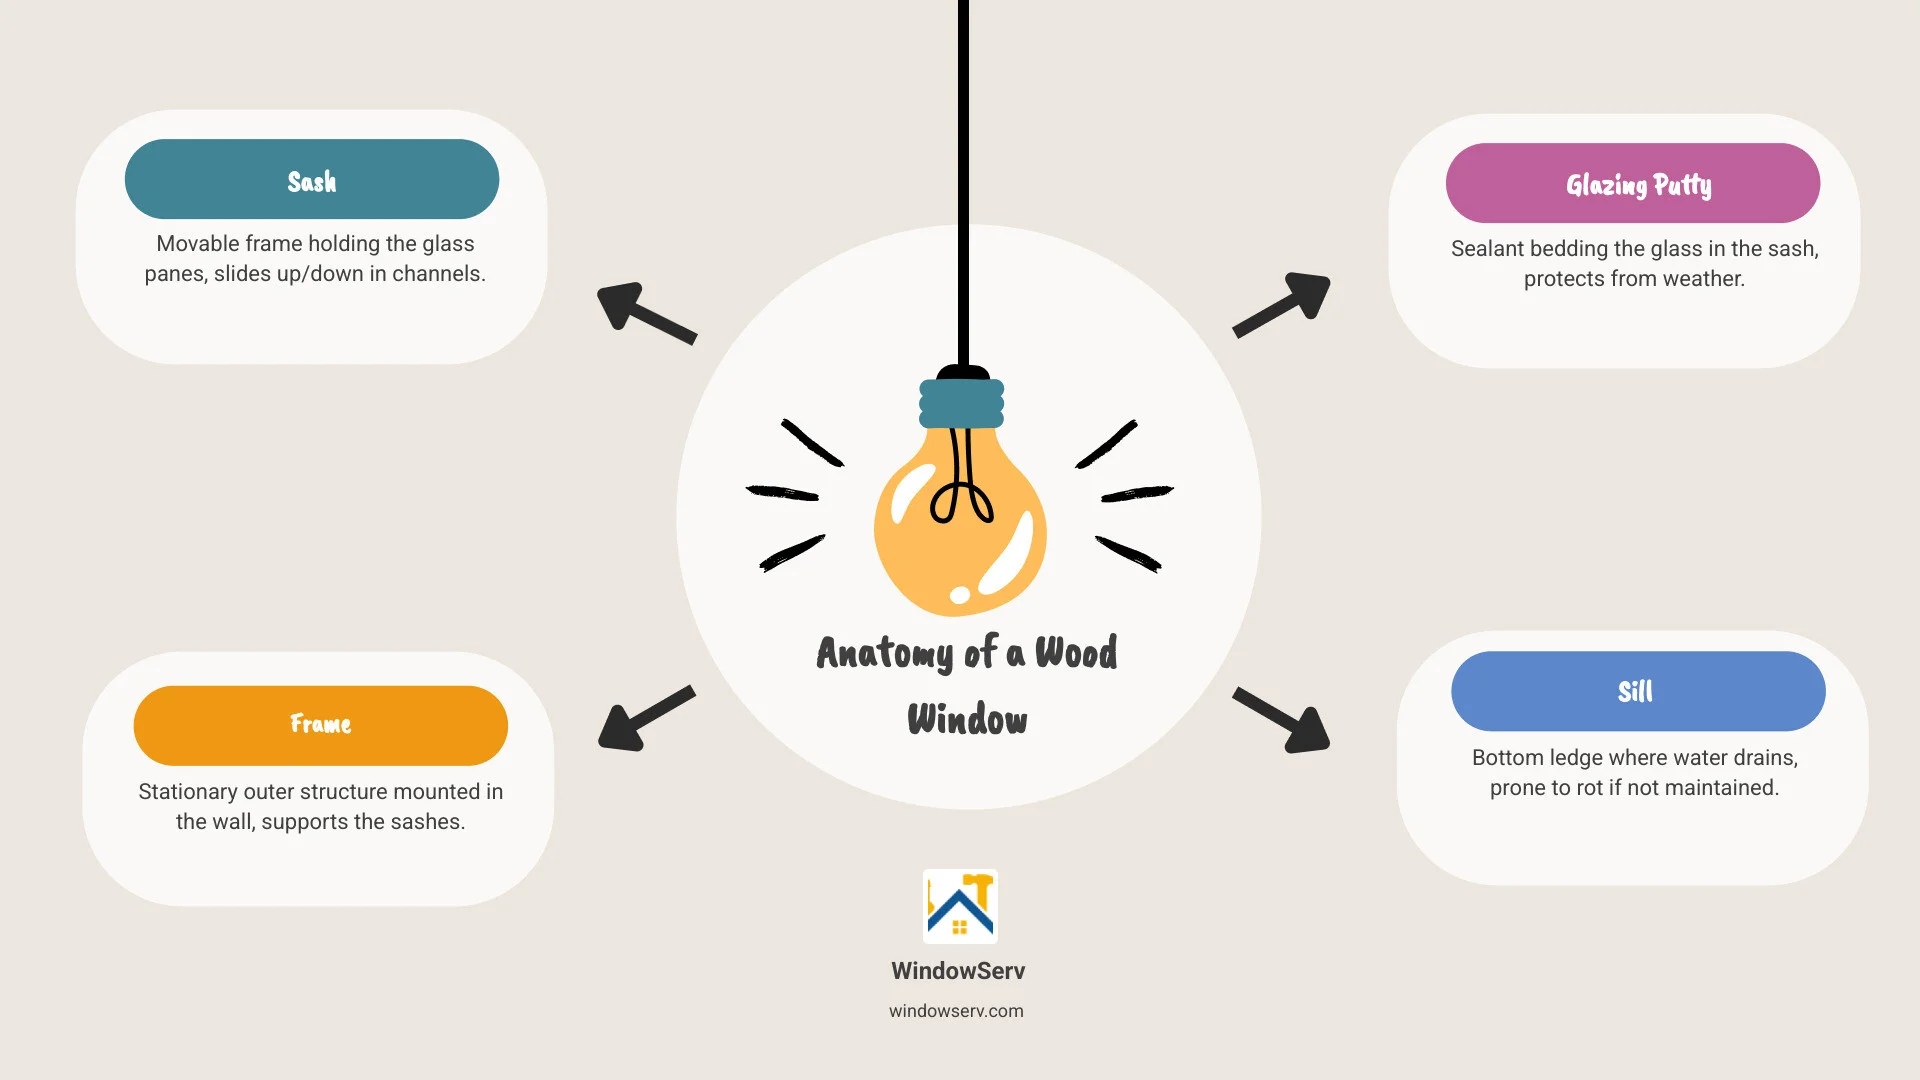
Why Restore Instead of Replace?
As we move into April 2026, homeowners in areas like Montclair, Summit, and Ridgewood are increasingly choosing preservation over replacement. The “replacement window myth” suggests that new vinyl is always better, but the data tells a different story.
| Feature | Historic Wood Restoration | Modern Vinyl Replacement |
|---|---|---|
| Lifespan | 50–100+ years (with maintenance) | 20–40 years |
| Repairability | High (parts can be replaced individually) | Low (unit usually requires full replacement) |
| Insulation | 1,800x better than aluminum | Variable; depends on frame hollows |
| Aesthetics | Authentic architectural character | Often bulky; reduces glass area |
| Cost | ~$50 (DIY) to $1,000+ (Pro) | $200–$1,500+ per window |
The superiority of old-growth wood cannot be overstated. These windows were built from trees that grew slowly over centuries, resulting in a density that resists decay and warping far better than the “farmed” lumber used today. When we perform wood window refinishing, we are working with a material that is essentially irreplaceable. According to the National Trust for Historic Preservation, these materials are often superior to modern replacements in both durability and character.
Furthermore, the environmental impact is significant. Restoring your windows keeps old-growth wood out of New Jersey landfills and avoids the high carbon footprint of manufacturing new plastic or metal units. By adding weatherstripping and a high-quality storm window, your historic windows can actually exceed 2012 energy code requirements. You can learn more about how we help you keep your home’s soul intact through The Benefits of Professional Wood Window Refinishing | WindowServ.
Mastering the Art of Wood Window Refinishing
Refinishing isn’t just about slap-on paint; it’s a craft. In historic NJ homes, the first rule of business is safety. Most windows built before 1978 contain lead paint. We approach this with extreme caution, following EPA Lead-Safe Renovation protocols, using HEPA vacuum systems, P100 respirators, and heavy-duty containment plastic to ensure your living space remains uncontaminated.
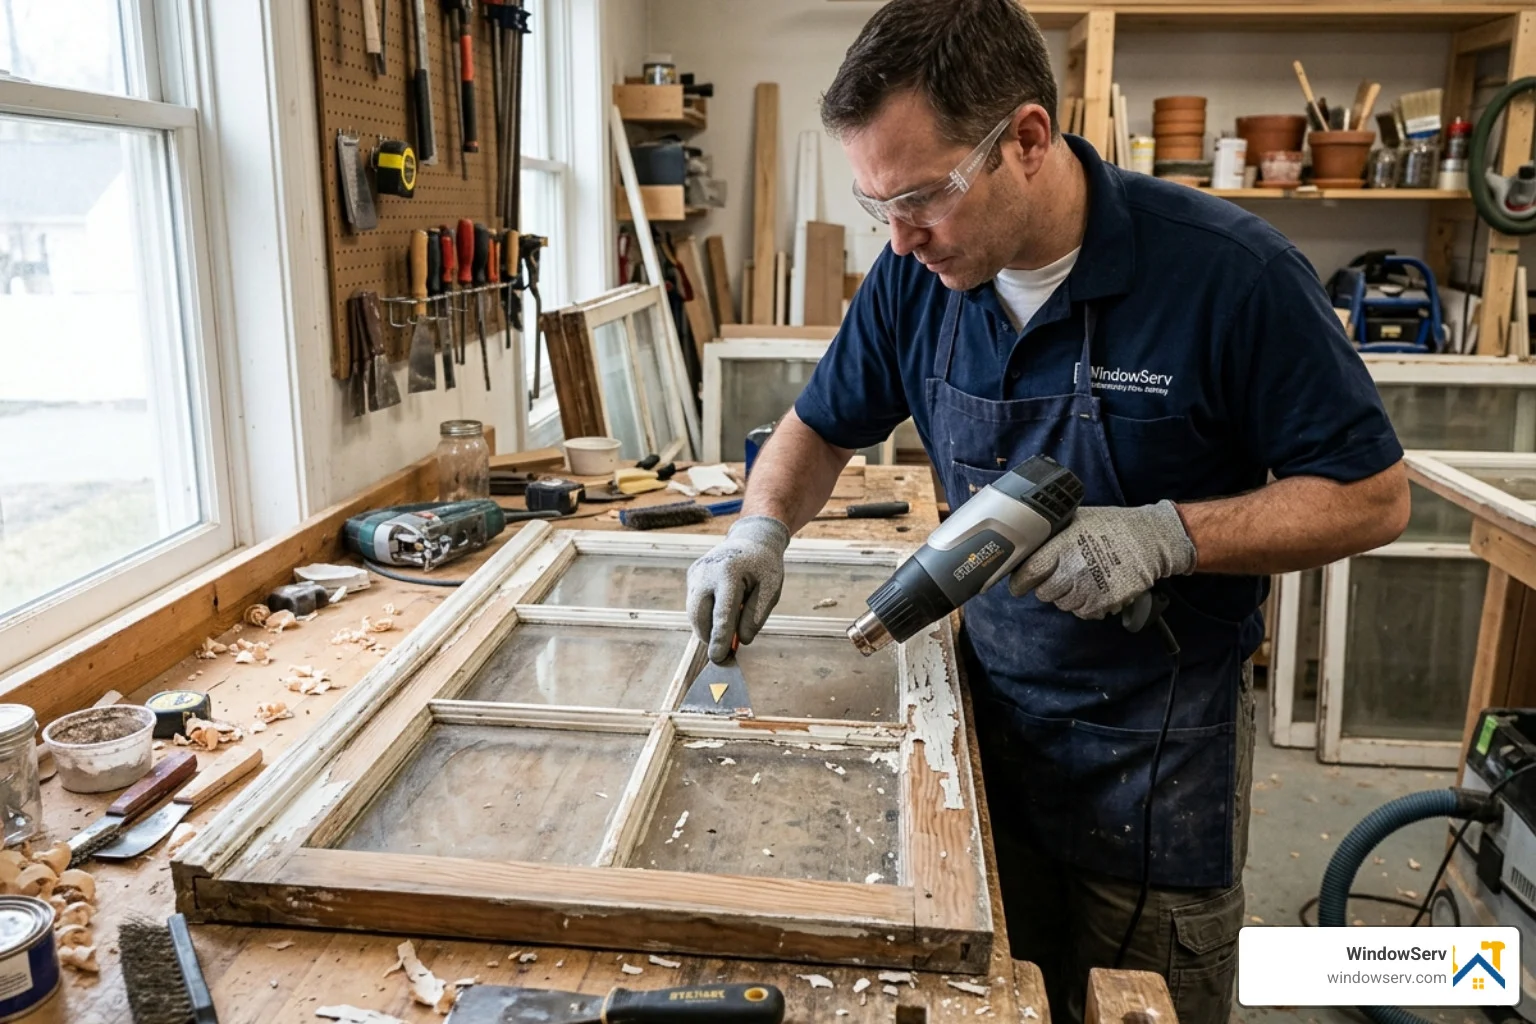
The process begins with professional sash removal. We carefully pry away the window stops and parting beads (the thin strips of wood that hold the sashes in place). We use a systematic numbering system for every part we remove. In a house with 20 windows, you don’t want to find out during reinstallation that a parting bead from the living room was actually meant for the master bedroom!
Essential Tools for Professional Wood Window Refinishing
To get a professional-grade finish, you need more than a basic scraper. Our toolkit includes:
- Infrared Heat Technology: Tools like the SpeedHeater allow us to soften old paint and putty at temperatures below 1,000°F. This is crucial because it prevents lead paint from vaporizing into toxic fumes and minimizes fire risks.
- Steam Boxes: For stubborn glazing putty, a steam box can soften the material without damaging the delicate architectural glass.
- Precision Scrapers: Sharp, high-carbon steel scrapers allow us to pull the finish off smoothly without gouging the wood.
- Epoxy Systems: We rely on Abatron or WEST SYSTEM resins for structural repairs. These epoxies bond with the wood fibers to create a repair that is often stronger than the original wood.
- Sarco Type M Glazing Putty: This is the gold standard for professional glaziers. It stays flexible long enough to tool perfectly but skins over quickly for painting.
Step-by-Step Wood Window Refinishing: Stripping and Sanding
Once the sashes are on the bench, we begin the stripping process. Using infrared heat, we strip the paint back to the bare wood. This reveals the true condition of the sash.
Sanding is where the “facelift” really happens. We use a feather sanding technique, starting with a coarser 80-grit to level the surface and moving up to 120 or 150-grit for a smooth finish. We always sand with the grain to avoid scratches. For stained windows, we often use trim pieces to custom-match the stain at a professional paint store, ensuring the new finish blends seamlessly with your home’s original architectural finishes. Discover the details of Our Restoration Process – WindowServ to see how we handle these delicate steps.
Repairing Rot and Reglazing for Longevity
One of the most common questions we get in Middlesex and Essex counties is: “Can you fix this rot?” The answer is almost always yes.
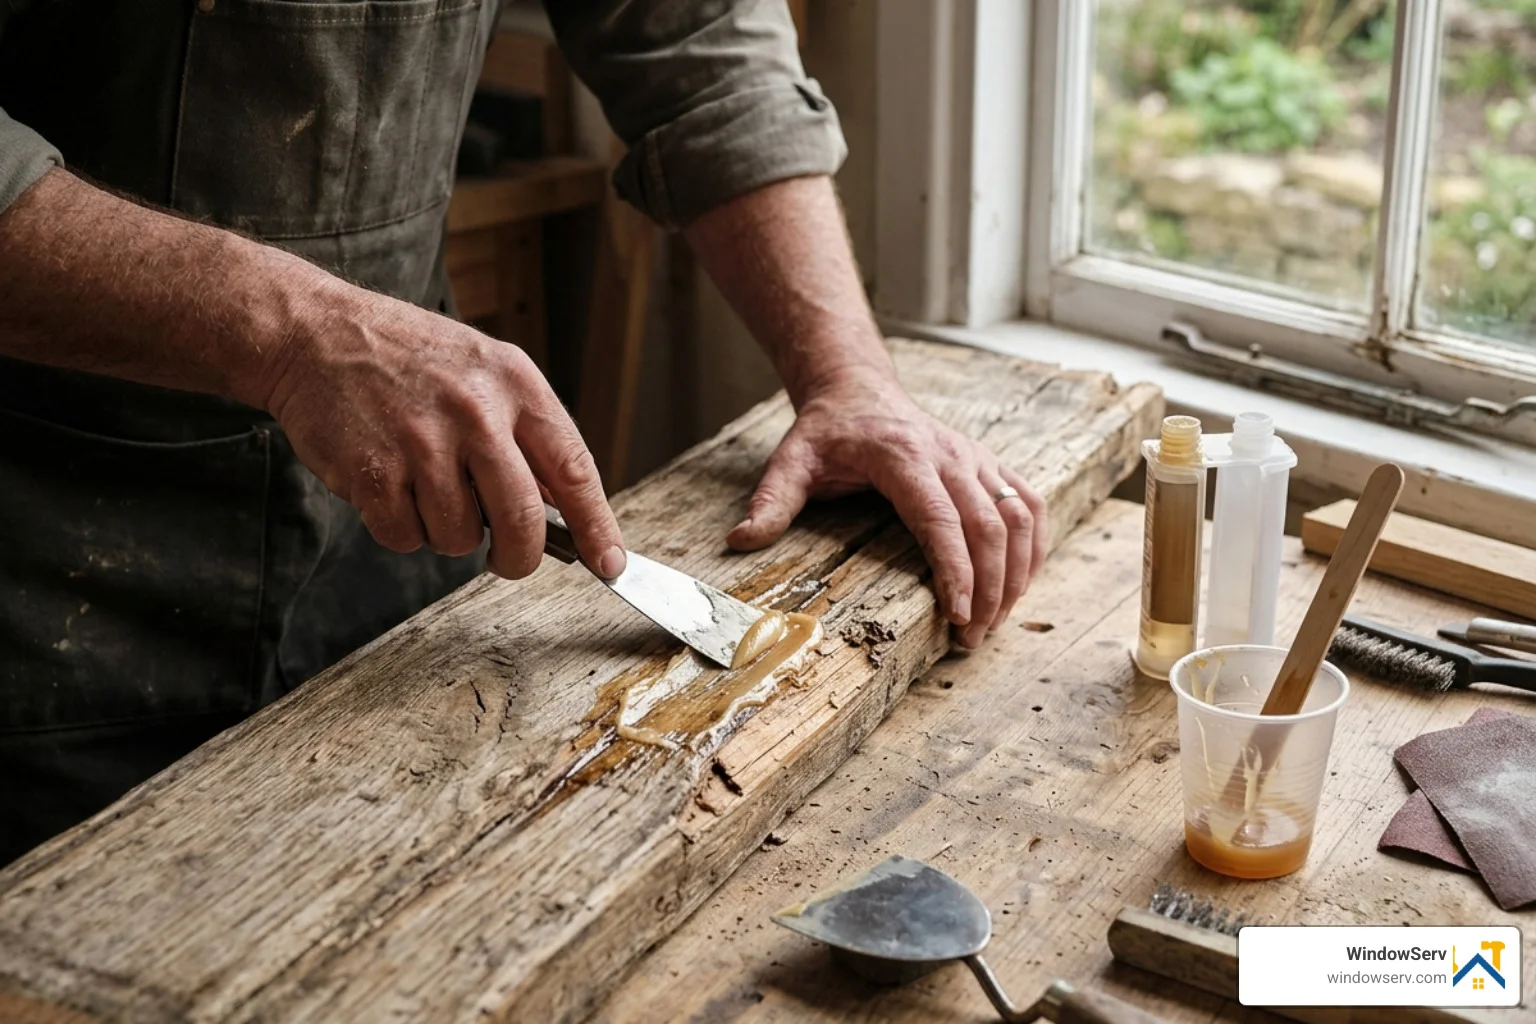
We excavate the rotted material back to clean, solid wood. We then treat the area with a liquid epoxy penetrant (like WEST SYSTEM 105) to consolidate the fibers. For large cavities, we don’t just use filler; we custom-cut wood “plugs” or “Dutchmen” to fill the bulk of the void, then use thickened epoxy to fair the surface.
The Reglazing Process
Reglazing is the “seal” that protects your window from the elements.
- Bedding the Glass: We apply a thin bead of putty in the wood rabbet (the groove) before laying the glass down. This “bedding” prevents water from getting behind the glass.
- Setting Points: We use professional glazing points — small metal triangles — driven into the wood every 4-6 inches to hold the glass securely.
- Tooling the Putty: We apply the finish putty at a 45-degree angle, creating a smooth “slope” that sheds water.
- Curing: Putty needs time to “skin over.” Depending on the weather in Hoboken or Jersey City, this can take anywhere from a few days to a week before it’s ready for a high-quality oil-based primer.
Replacing Sash Ropes and Balancing Weights
If your windows are held up by “propping” them with a stick, your sash cords are likely broken. During wood window refinishing, we always address the mechanical pulley system. We replace old, frayed ropes with heavy-duty #8 cotton sash cord with a synthetic core for added strength.
We calibrate the weights to ensure the sash stays exactly where you put it. This is also the perfect time to align the meeting rails (where the two sashes touch) to eliminate those annoying gaps that let in the winter chill.
Weatherization and Final Finishing Touches
A restored window should be as efficient as it is beautiful. We focus on the primary leakage sources: the meeting rails and the sill.
We often install “kerf-in” weatherstripping — thin, flexible seals that sit in a tiny groove we cut into the sash. This allows the window to slide smoothly while creating an airtight seal when closed. This can lead to up to 30% energy savings, helping your historic home meet modern standards.
Painting the Sash
When it comes to the final finish, there is a golden rule: Do not paint the sliding edges. The sides of the sashes and the tracks (jambs) should be left bare or treated with a light coat of linseed oil or wax. Painting these surfaces is the #1 cause of “stuck” windows.
For the rest of the sash, we use a premium primer followed by two coats of high-quality exterior paint. We ensure that the paint “laps” onto the glass by about 1/16th of an inch. This creates a weather-tight seal between the putty and the glass, preventing moisture from seeping in. We also make sure weep holes and breather holes remain clear so the window can “breathe” and shed moisture as designed. For more on the intersection of efficiency and beauty, see Energy Efficiency and Window Restoration | WindowServ.
Frequently Asked Questions about Wood Window Restoration
How long does the professional refinishing process take?
A full restoration typically takes 6-8 weeks. This timeline accounts for the careful removal of lead paint, the necessary drying time for epoxy repairs, and the “skinning” time required for glazing putty before it can be painted. We often work in batches to improve efficiency, ensuring your home isn’t left open for longer than necessary.
Is it safe to refinish windows with lead paint?
Yes, when handled by professionals. We use strict containment protocols, including plastic sheeting and HEPA-filtered vacuums. By using infrared heat instead of sanding or high-heat guns, we keep the lead below the vaporization point, preventing toxic fumes.
What is the ROI of refinishing instead of replacing?
The ROI is excellent. While a professional restoration might cost $1,000 to $2,000 per window, it preserves the historic value of your home, which is a major selling point in NJ’s historic districts. Studies by organizations like PlaceEconomics have shown that historic preservation consistently supports property values. Furthermore, you avoid the “20-year cycle” of replacing cheap vinyl windows. When you factor in the 30% energy savings and the 50+ year lifespan of restored wood, refinishing is the clear financial winner.
Conclusion
At WindowServ, we believe that the windows of your home are its eyes to the world. They provide character, light, and protection. Our team of local NJ experts is dedicated to preserving that legacy through meticulous wood window refinishing. Whether you are in Tenafly, Westfield, or Livingston, we provide comprehensive restoration services that save your original frames and improve your home’s efficiency.
Don’t settle for the “quick fix” of modern plastic. Give your home the facelift it deserves by honoring its history. We offer a satisfaction guarantee on all our work, ensuring your windows will operate smoothly and look stunning for decades to come.
Ready to see the difference professional restoration can make? Schedule a consultation for window restoration services with WindowServ today and let us help you bring your historic windows back to life.