
Why Is My Bay Window Leaking? Easy DIY Fixes for Window Seals
A Bay Window Leak Can Cause Serious Home Damage — Here's What to Do First
If you have a bay window leak, here's a quick summary of the most common causes and fixes:
Problem Where to Look Quick Fix Failed flashing Roof-to-wall junction Reseal or replace flashing Cracked caulk Frame edges, mitered corners Remove old caulk, apply new silicone or polyurethane sealant Blocked weep holes Bottom of window frame Clear debris from drainage holes Leak from window above Upper floor window sills Inspect and re-caulk upper windows Damaged sill pan Under the window sill Install sloped sill pan or peel-and-stick membrane
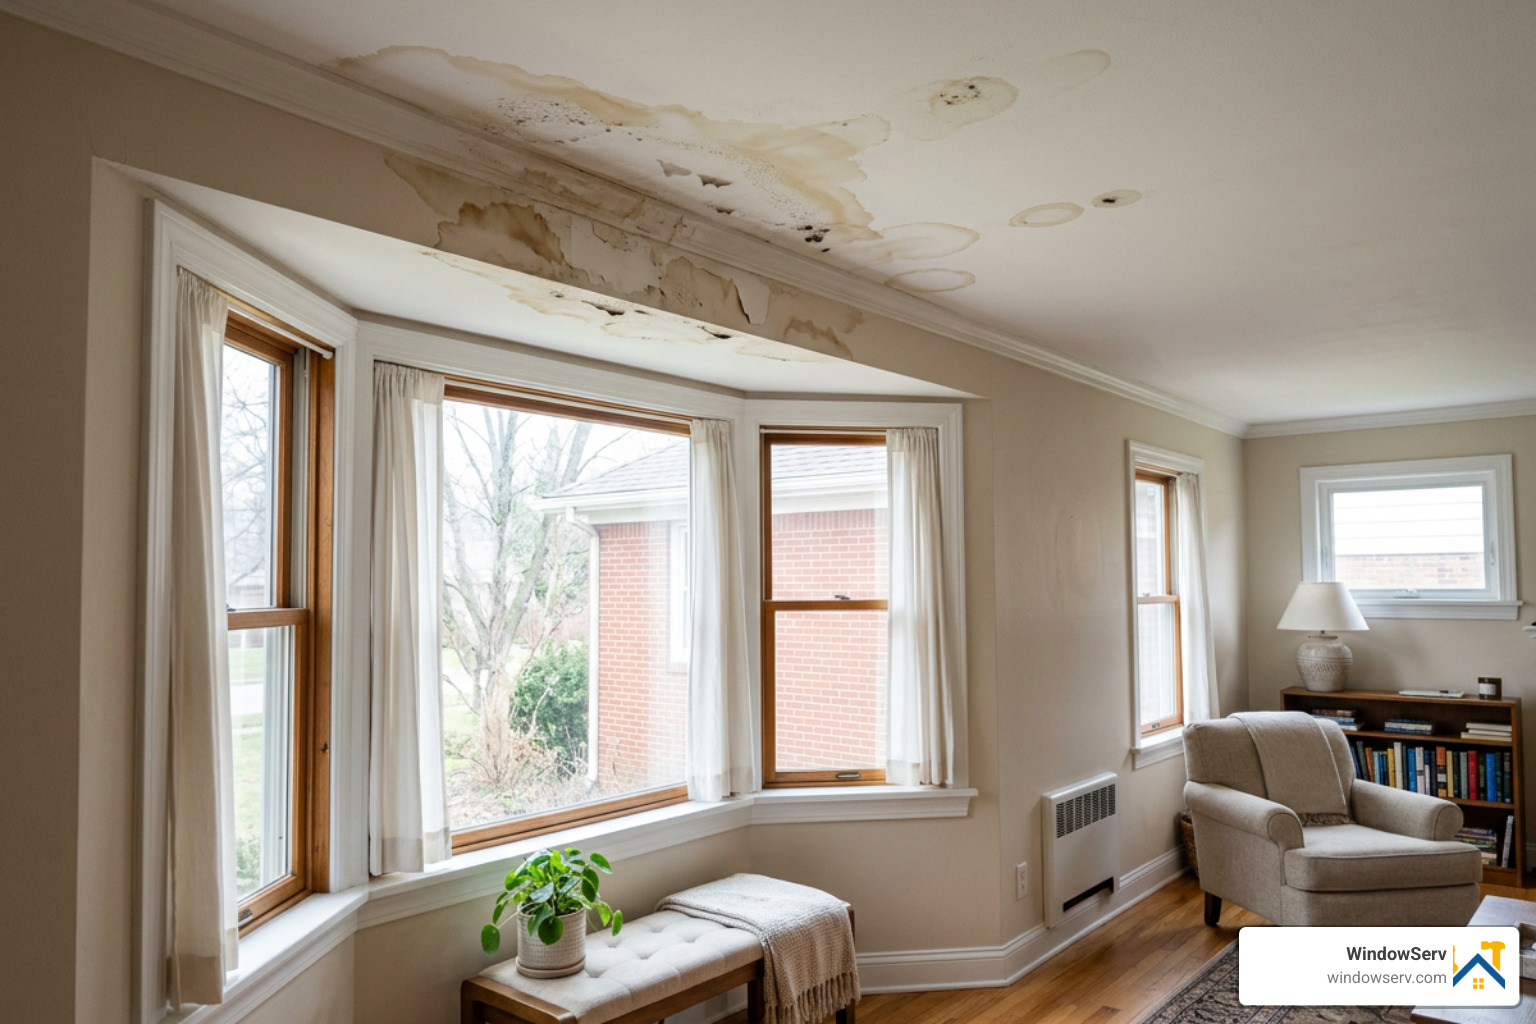
A bay window leak is one of the most frustrating problems a homeowner can face — and one of the most deceptive. The water stain on your ceiling almost never marks the spot where rain is actually getting in. Water travels along framing, wraps around joists, and pools somewhere completely unrelated to the real entry point.
That's what makes these leaks so costly when ignored. Water intrusion through windows and doors accounts for roughly 37% of all residential water damage claims in the U.S. Bay windows are especially vulnerable because of their outward projection from the wall — they create complex junctions where roofing, siding, framing, and glass all meet. Any one of those connections can fail over time.
The good news? Many bay window leaks can be diagnosed and fixed without a full replacement — if you catch them early and target the right spot.
I'm Feiruz Gabibov, Chief Operating Officer of WindoServ, and I've overseen hundreds of bay window leak repairs across New Jersey — from simple sealant failures to full flashing overhauls on older homes. In this guide, I'll walk you through exactly how to find your leak, fix it, and prevent it from coming back.

Understanding the Anatomy and Common Causes of a Bay Window Leak
To stop a bay window leak, we first have to understand why bay windows are so uniquely prone to water intrusion. Unlike standard flat windows, a bay window is a three-dimensional architectural feature that "bumps out" from your home's exterior wall. This means it has its own roof (often a small flat roof, a sloped shingle roof, or a copper canopy), its own support structure underneath, and multiple angled joints where the window units meet.
Statistics show that bay windows are among the most leak-prone features in residential construction, with leaks reported in up to 25% of homes with bay windows after just 10 to 15 years. Furthermore, improper flashing and sealing around windows is cited as the leading cause in 65% of all window-related water intrusion cases. When these leaks go unnoticed, they slowly rot the framing, leading to expensive repairs. In fact, homeowners report spending an average of $2,500 to $7,500 on repairs for recurring bay window leaks, often because the initial fixes only addressed the symptoms rather than the root cause.
Several structural factors contribute to these failures:
Structural Settling: As your home naturally settles over time, the outward projection of the bay window puts leverage on the connection points. This subtle movement can pull flashings away from the wall, tear house wrap, and crack cured caulk lines.
Hydrostatic Pressure: Wind-driven rain pushes water hard against the window's glass and frame. If there isn't a clear path for this water to escape, hydrostatic pressure will force it through the tiniest microscopic gaps in your sealant.
Mitered Corners and Factory Joints: The angled corners where the side windows meet the center window rely heavily on factory-applied sealants. Over years of thermal expansion and contraction (especially during harsh New Jersey winters and hot summers), these joints degrade and open up.
The "Wick Path" Phenomenon: Once water finds a way past the outer barrier, it creates a continuous damp path. Even after the rain stops, this path acts like a straw, pulling lingering moisture deep into your wall cavity.
Improper Building Construction: In many cases, builders fail to properly integrate the window's weather-resistive barrier with the house wrap. This issue is thoroughly analyzed in the study on Improper Building Construction Leading to Water Infiltration, which highlights how structural oversights during initial installation inevitably lead to long-term water damage.
If water has been entering your wall cavity for months or years, it will eventually cause structural rot. If you notice soft wood, a musty smell, or peeling paint around your window frame, you may need to look into professional Window Wood Rot Repair to restore the structural integrity of your home before resealing.
How to Diagnose and Trace the Source of Your Leak
Water behaves like a detective in reverse: it always finds the path of least resistance. This means a water stain on the lower left corner of your bay window sill might actually be caused by a failed flashing joint on the upper right side of the bay's roof.
To accurately identify the source of a bay window leak, you must conduct a systematic diagnostic process. Start with a thorough visual inspection on a dry day, looking for cracked caulk, rusted flashing, missing roof shingles, or gaps where the window frame meets your siding or brickwork.
Many seasoned professionals and DIYers use a damp meter to map out hidden moisture paths behind drywall or plaster. By taking readings in a grid pattern around the interior of the bay window, you can trace the highest concentration of moisture back to its origin. As discussed on the Diagnose my leaking bay window | DIYnot Forums, water can travel from an upper-floor window sill, down through the cavity of a brick wall, and emerge at the head of a ground-floor bay window, tricking homeowners into thinking the bay roof is at fault.
To help you narrow down your search, use this quick reference table:
Leak Location Likely Culprit Diagnostic Indicator Top of Bay Window (Ceiling/Header) Failed roof flashing, deteriorated roof membrane, or leaks from the window directly above. Water stains appear immediately after heavy rain; dampness spreads outward from the wall-to-ceiling crease. Bottom of Bay Window (Sill/Floor) Blocked weep holes, failed perimeter seals, or lack of a sloped sill pan. Water pools on the sill inside, or carpet/flooring beneath the bay window feels damp after wind-driven rain. Mitered Side Corners Degraded factory joint sealant or structural movement straining the frame. Moisture runs down the vertical mullions where the window panes meet at an angle.

Step-by-Step Guide to Isolating a Bay Window Leak
If a visual inspection doesn't reveal the culprit, you can isolate the leak using a controlled water test. It is highly recommended to have two people for this: one outside with the hose and one inside watching the window with a flashlight.
Wait for a Dry Spell: Do not perform this test immediately after rain, as the walls will already be wet, making it impossible to see new water entry.
Start Low and Work Your Way Up: This is the golden rule of leak detection. If you start spraying the roof first, water will run down the entire assembly, and you won't know if the leak is at the top, middle, or bottom.
Test the Sill and Weep Holes First: Spray a gentle stream of water from a garden hose (without a high-pressure nozzle) directly onto the lower window sill and the exterior weep holes for 5 to 10 minutes. Watch the interior sill closely.
Test the Side Joints and Frame: Move the hose up to test the vertical mitered corners and the seams where the window frame connects to your home's siding. Again, hold the stream there for several minutes.
Test the Roof and Flashing: Finally, direct the water onto the bay window's roof and the flashing where it connects to the house wall.
Use Tarp and Tape Isolation: If you are still unsure, cover the entire bay window roof with a plastic tarp, taping it securely to the house siding above. If it rains and the leak stops, the issue is definitely in the roof or upper flashing. If it still leaks, water is likely entering from the windows above or through the siding itself.
Temporary and Permanent Fixes for Window Seals and Flashing
Once you have pinpointed the entry point, it’s time to take action. Depending on the severity of the issue, you may need a quick temporary patch to get you through the rainy season, or a comprehensive permanent repair.

For sealing the exterior of a bay window, never use cheap, standard silicone caulk from a discount bin. Standard caulks lack the elasticity required to handle the thermal movement of a projecting bay window. Instead, opt for high-quality, exterior-grade polyurethane sealant or high-performance elastomeric sealants (such as OSI Quad). These materials maintain their flexibility for years, stretching and compressing without tearing away from the brick or vinyl.
If your leak is due to drafty joints or worn-out perimeter barriers, refer to our Window Weatherstripping Replacement Guide to learn how to properly replace these crucial seals.
Here are the primary permanent repair strategies:
Clearing Blocked Weep Holes: Vinyl and aluminum bay windows feature built-in drainage channels (weep holes) at the bottom of the frame to let water escape. If these holes get clogged with dirt, leaves, or bugs, water will pool inside the hollow frame and spill over onto your interior sill. Clean them out gently using a thin wire or compressed air.
Replacing Failed Flashing: If your roof-to-wall flashing is rusted, cracked, or missing, it must be replaced. For brick homes, this involves cutting a reglet (groove) into the mortar joint, tucking custom-bent metal counter-flashing into the groove, and sealing it with a high-durability sealant.
Installing a Sill Pan: If water consistently bypasses your lower seals, installing a sloped sill pan beneath the window frame during a repair can create an uninterrupted drainage plane, forcing any water that gets past the frame back out to the exterior.
How to Seal a Bay Window Leak Caused by Failed Factory Joints
One of the most common issues with vinyl bay windows is a design flaw in the factory joints. Many vinyl frames feature a narrow 1/8-inch perimeter groove where the vinyl casing pieces meet. Over time, the factory-applied sealant inside this groove cracks, allowing water to seep directly into the hollow frame underneath the sill.
To permanently fix a failed factory joint, follow these steps outlined in our guide on How to Fix a Leaking Bay Window - Engineer Fix:
Clean the Joint Thoroughly: Use a plastic putty knife or a specialized caulk removal tool to scrape away every trace of the old, degraded sealant. Do not use metal blades on vinyl, as you can easily gouge the frame.
Decontaminate the Surface: Wipe down the groove with rubbing alcohol or a mild solvent to remove dirt, grease, and soap residue. Let it dry completely.
Apply High-Performance Sealant: Run a clean bead of polyurethane sealant (like OSI Quad) directly into the groove. Cut the nozzle of your sealant tube at a 45-degree angle to match the width of the groove, ensuring the sealant is forced deep into the joint rather than just sitting on top.
Tool the Joint: Smooth the bead with a caulking tool or a gloved finger dipped in soapy water to ensure a continuous, watertight bond. Let it cure fully according to the manufacturer's directions before exposing it to rain.
When to Repair vs. Replace Your Bay Window
Not every leaking bay window can be saved with a tube of high-grade sealant. Sometimes, structural damage or systemic manufacturing defects mean that a full replacement is the only safe and cost-effective option.
Consider a professional Window Replacement if you encounter any of the following deal-breakers:
Widespread Wood Rot: If the structural framing beneath the bay window sill or within the wall cavity has turned soft and spongy, the window is no longer structurally sound.
Multiple Failed Repair Attempts: If you have hired multiple contractors or applied sealant several times and the window still leaks, the leak is likely caused by an internal manufacturing defect or a warped frame that cannot be sealed.
Significant Energy Loss: Old, leaking bay windows are major energy drains. Upgrading to a modern energy-efficient bay window can provide up to 30% in energy savings while completely eliminating water intrusion risks.
Warped or Sagging Frames: If the bay window was installed without proper support cables or knee braces underneath, gravity will cause the entire structure to sag. This warps the frames, breaks the glass seals, and makes it impossible to keep the window watertight.
However, if the wood framing is dry, the glass is intact, and the leak is isolated to a clearable weep hole or a single failed caulk joint, a professional Window Repair is highly viable and will save you thousands of dollars while preserving your home's original architectural character.
Frequently Asked Questions About Bay Window Leaks
Why is my bay window leaking from the ceiling?
A ceiling leak in a bay window is almost always related to the roof structure or the flashing above. The most common culprits are failed apron flashing (the metal sheet connecting the bay roof to your home's siding) or cracked sealant along a brick counter-flashing joint. Additionally, check the window directly above the bay; water can seep under an upper window's sill and run down the inside of the wall cavity, dripping onto your bay window ceiling.
Can a blocked weep hole cause a bay window leak?
Yes, absolutely. Most vinyl and aluminum bay windows are designed with hollow frames and small exterior weep holes at the bottom. These holes are designed to drain away any water that bypasses the glass seals. If these weep holes become clogged with dirt, pollen, or paint, the water has nowhere to go. It will pool inside the hollow vinyl frame until it overflows inward, damaging your interior window sill, walls, and flooring.
Does home insurance cover bay window roof repairs?
It depends entirely on the cause of the leak. Homeowners insurance typically covers sudden, accidental water damage caused by "active perils," such as a heavy storm blowing off shingles or a fallen tree branch damaging the bay roof. However, insurance companies will almost always deny claims for leaks caused by wear and tear, gradual deterioration, aged caulk, or lack of basic maintenance.
Conclusion
A bay window leak is a serious issue, but with a systematic approach, the right materials, and a bit of patience, you can protect your home from water damage. Whether your leak requires clearing out a clogged weep hole, resealing a vinyl factory joint, or addressing a flashing issue on your roof, catching the problem early is key to avoiding costly structural repairs.
If you are dealing with a persistent bay window leak in New Jersey, you don't have to tackle it alone. At WindowServ, we are your local NJ experts, serving Bergen, Essex, Hudson, Middlesex, Monmouth, and Union counties — including Hoboken, Jersey City, Ridgewood, Montclair, Tenafly, Cresskill, Paramus, Summit, Westfield, and Livingston.
We specialize in comprehensive window solutions designed to save your original frames, restore structural integrity, and deliver up to 30% in energy savings — all backed by our satisfaction guarantee. If your home's window glass has been compromised or fogged by moisture, we also offer professional Window Glass Replacement to restore your view and your peace of mind. Contact us today to schedule an inspection and keep your home dry and comfortable for years to come!
