
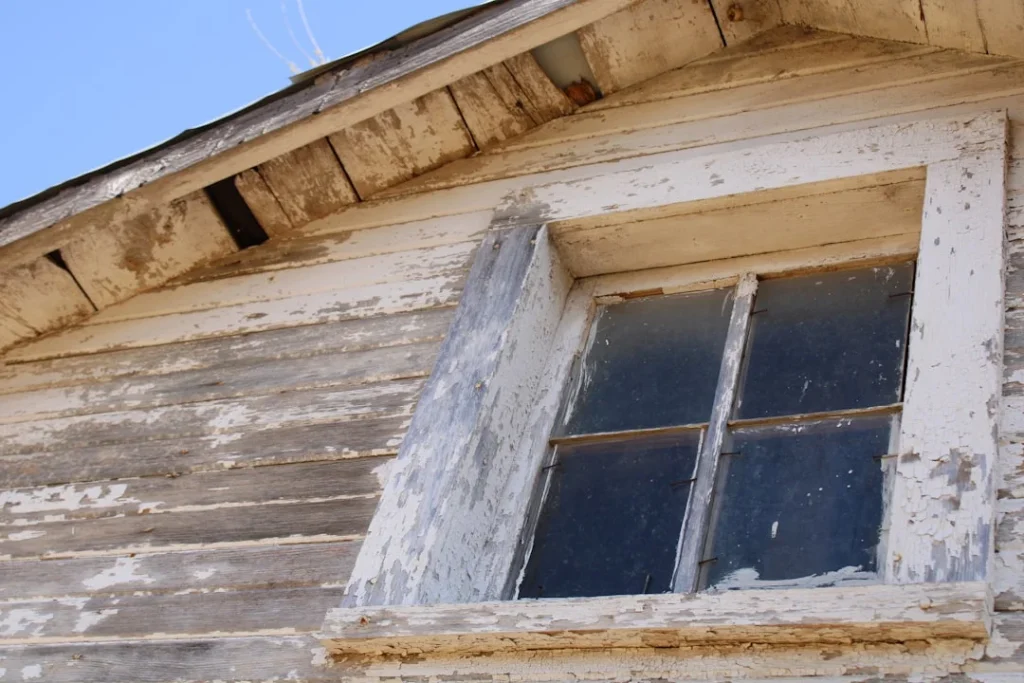
Why Window Wood Trim Repair Is a Repair You Can’t Afford to Ignore window wood trim repair rotted exterior close up Window wood trim repair is one of the most
Why Window Wood Trim Repair Is a Repair You Can’t Afford to Ignore
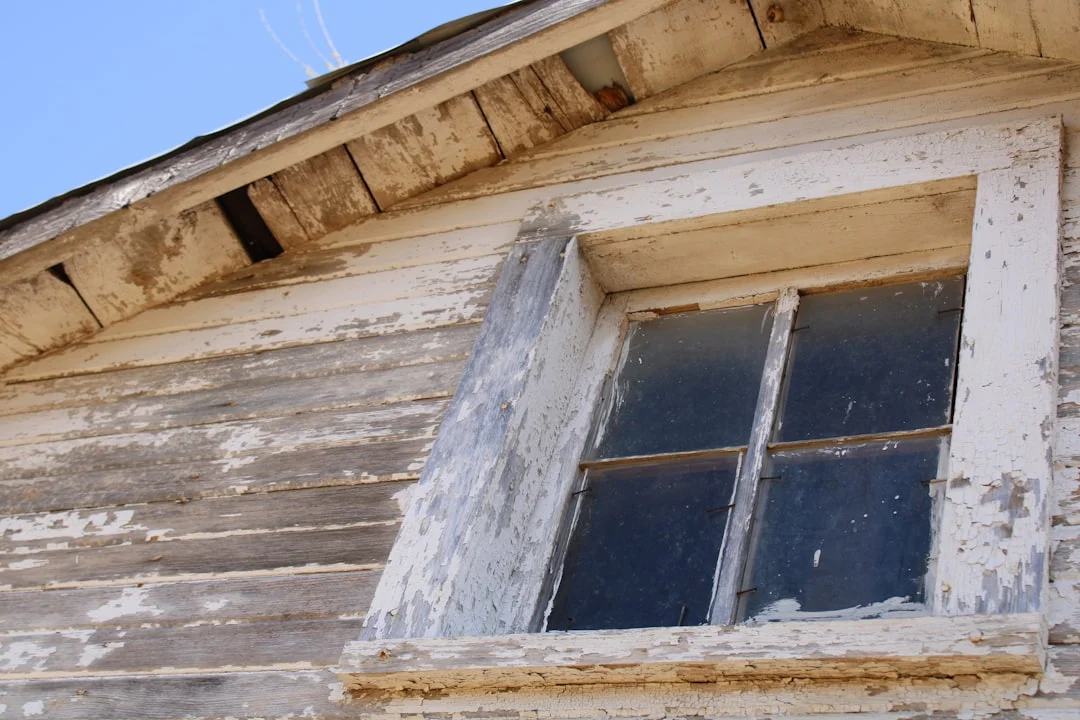
Window wood trim repair is one of the most common — and most overlooked — home maintenance tasks facing New Jersey homeowners today.
Here’s what you need to know right away:
How to repair rotted wood window trim (quick overview):
- Find the moisture source — fix the water problem before anything else
- Test the rot extent — press a screwdriver into the wood; spongy or crumbling means rot
- Remove all soft, rotted wood — down to solid material only
- Apply wood consolidant — stabilizes remaining wood and preps for filler
- Fill with two-part epoxy filler — for small to medium areas; build up in layers
- Sand flush, prime with oil-based primer, and paint — gloss or semi-gloss exterior paint
- Replace the full board — when rot is too extensive for filler alone
- Caulk all joints and seal end grain — to lock moisture out going forward
Wood trim sits in one of the wettest spots on any house. Rain hits it directly. Old caulk cracks. Paint peels. And when moisture gets into end grain, fungal decay starts fast — often spreading far beyond what you can see on the surface.
The frustrating part? What looks like a small patch of bubbling paint on the outside can hide rot that has eaten deep into the trim board, the sill, and sometimes even the framing behind it.
The good news is that most cases of window wood trim rot — caught early enough — can be fixed in an afternoon without replacing the entire window. And even more severe damage can often be repaired without a full window replacement, saving you thousands of dollars.
I’m Feiruz Gabibov, COO of WindowServ, a New Jersey-based window repair and maintenance company, and overseeing hundreds of window wood trim repair jobs across the state has shown me exactly how quickly a small rot problem turns into a major structural repair when it’s ignored. In this guide, I’ll walk you through every step — from diagnosing the damage to finishing the repair so it lasts.
Understanding Exterior Wood Trim Damage
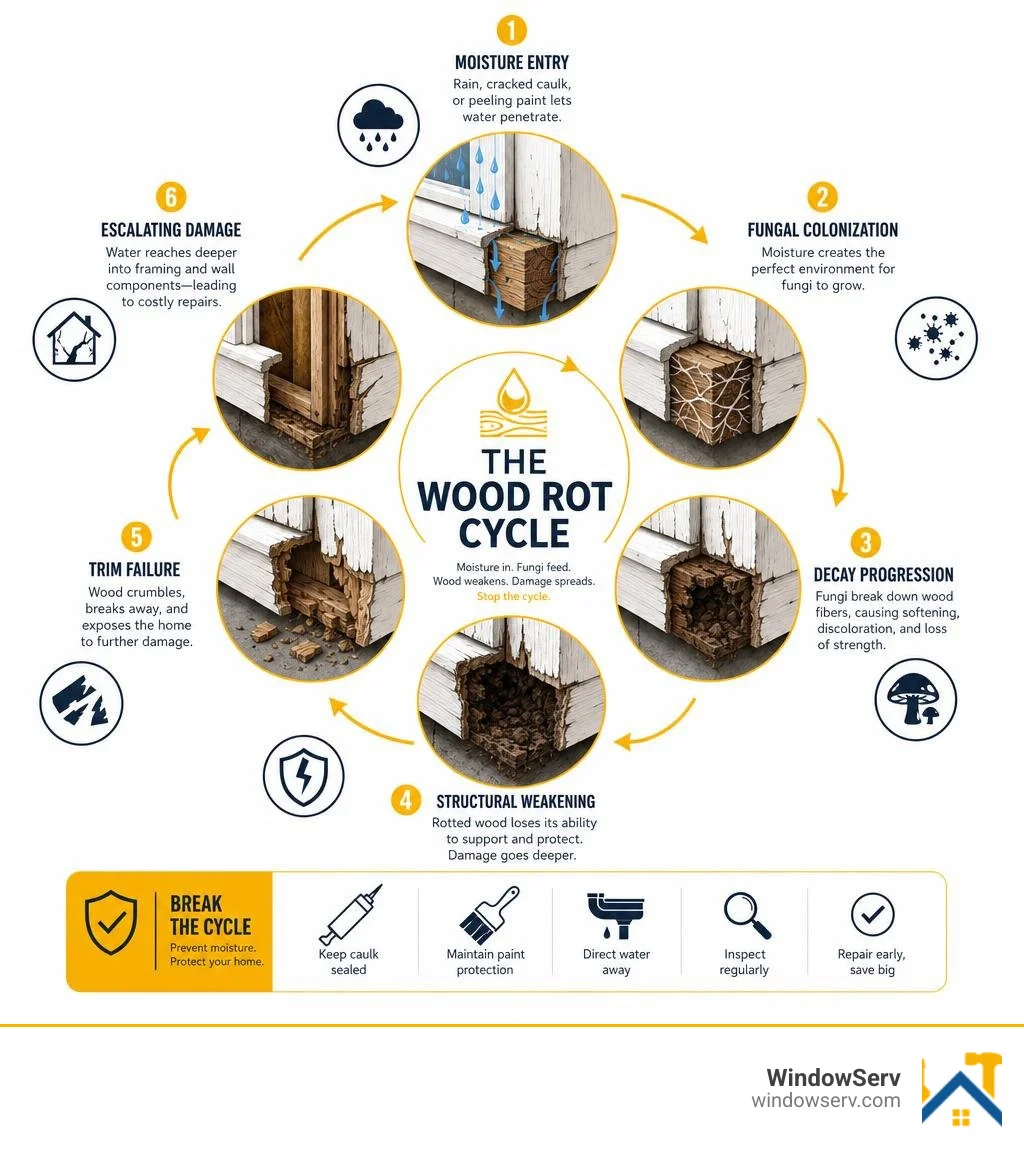
To execute a lasting window wood trim repair, you first have to understand why your window trim is failing. Wood is a natural, organic material. When it is exposed to moisture, oxygen, and moderate temperatures, it becomes the perfect breeding ground for wood-decay fungi.
This process, known as fungal decay, breaks down the cellular structure of the wood, leaving it soft, weak, and unable to protect your home. Weather exposure in New Jersey is particularly harsh. From freezing winters in Ridgewood and Paramus to humid, salty air along the Monmouth County coast, our exterior trim boards undergo constant expansion and contraction cycles. This movement causes paint film to crack, allowing water to seep into the unprotected wood beneath.
Once water penetrates the wood, it travels along the grain. If the water cannot drain or dry out quickly, the wood’s moisture content rises above 20%, triggering active rot. Left unchecked, this moisture intrusion will eventually bypass the trim entirely, rotting the window framing, structural wall sheathing, and even the interior plaster or drywall.
Identifying Rot and Moisture Damage Early
Catching wood rot early is the difference between a simple, low-cost afternoon patch and an expensive, multi-board replacement. To protect your home’s structural integrity, perform an annual inspection using these diagnostic steps:
- The Screwdriver Test: Walk around your home’s exterior with a flathead screwdriver or an awl. Gently press the tip into areas that look suspicious, especially near joint intersections and the bottom corners of the window frame. If the wood is solid, the screwdriver will bounce off or barely leave a dent. If the wood is spongy, soft, or crumbles easily, you have found active rot.
- Look for Peeling and Bubbling Paint: Paint does not peel without a reason. When moisture gets trapped behind the paint layer, it pushes the paint away from the wood surface, creating small bubbles or long cracks.
- Check for Mold, Mildew, and Dark Discoloration: Green or black spots on your trim indicate chronic moisture exposure. Even if the wood still feels relatively solid, mold is a warning sign that the area is not drying properly.
- Inspect for Water Stains: Dark watermarks on the trim or the siding directly below the window corners indicate that water is shedding incorrectly.
For a deeper look at diagnosing frame-level issues, check out our comprehensive Window Frame Repair Guide 2026 to help you pinpoint exactly where your frame’s defenses are breaking down.
Modern Window Construction and Trim Feasibility
If your home was built or remodeled in the last few decades, your windows are likely constructed differently than traditional solid-wood windows. Understanding these differences is crucial before starting a window wood trim repair project.
Many contemporary windows feature aluminum-clad or vinyl-clad wood sashes. While the exterior of the sash is protected by metal or plastic, the surrounding wood trim (such as the brickmold or casing) is often still made of solid wood. If moisture gets trapped behind the aluminum cladding, it can rot the underlying wood frame without showing any immediate exterior signs.
Additionally, modern windows often utilize double-pane glazing units that are sealed into the sash. In older windows, replacing a single glass pane or repairing a rotted glazing bead was a straightforward DIY task. With modern units, a failing seal or rot along the sash rails can be more complex to resolve. However, many contemporary window styles can still be successfully repaired using advanced epoxy stabilization and custom-milled wood patches, avoiding the massive expense of a full-frame replacement.
If you are dealing with classic double-hung designs, our specialized guide on Wooden Sash Window Repairs offers targeted advice for restoring operability and sealing out drafts.
Planning Your Window Wood Trim Repair Project
Before you head to the local hardware store in Montclair or Westfield, you need to plan your project scope and choose your replacement materials. The material you select for your repair will dictate how long the trim lasts before needing attention again.
For repairs that require replacing a section of wood or an entire board, you have several material options:
- Traditional Wood Species: Clear pine is easy to work with and cheap, but it has low natural rot resistance. Hard maple is incredibly strong but is highly susceptible to moisture and warping if not perfectly sealed. Poplar is a popular paint-grade choice but must be back-primed to prevent rot.
- Pressure-Treated Lumber: This wood is chemically treated to resist rot and insects. However, it is often wet when purchased and must dry completely for several weeks before you can prime and paint it.
- Cellular PVC: This is a modern, solid plastic material that can be cut, routed, and nailed just like wood. It will never rot, warp, or split, making it an exceptional choice for high-moisture areas. However, it must be painted with 100% acrylic latex paint (avoiding dark colors that absorb excessive heat).
| Material | Rot Resistance | Ease of Cutting/Milling | Paint Adhesion | Best Use Case |
|---|---|---|---|---|
| Pine (Unrefined) | Low | Excellent | Excellent | Indoor trim or highly protected exterior areas |
| Poplar | Low to Medium | Excellent | Excellent | General paint-grade exterior trim (must be back-primed) |
| Pressure-Treated Pine | High | Good | Moderate (must dry first) | Structural sills and framing support |
| Cellular PVC | Impervious | Good | Good (acrylic latex only) | Exposed exterior casings, brickmold, and sills |
Essential Tools for Window Wood Trim Repair
To perform a professional-grade repair, you will need to gather a specific set of tools and safety equipment. Having the right tools on hand ensures your cuts are precise and your epoxy applications cure successfully.
- Safety Gear: Safety glasses, heavy-duty work gloves, and a high-quality respirator (essential when sanding old paint, which may contain lead if your home was built before 1978).
- Removal Tools: A sharp utility knife to score paint lines, a stiff putty knife, a wood chisel, a hammer, and a small pry bar to remove damaged trim boards.
- Cutting Tools: A miter saw for clean 45-degree corner joints, or an oscillating multi-tool for making precise plunge cuts in existing trim.
- Prep Tools: A wire brush, paint scraper, and a sanding block with 80-grit and 120-grit sandpaper.
- Application Tools: A caulking gun, a plastic putty knife or flexible spreader for mixing epoxy, and high-quality paintbrushes.
To learn more about setting up your workspace and choosing the right materials, read How To Repair Exterior Wood Window Trim: Easy Steps For Enhancing Curb Appeal for practical DIY setup tips.
When to Choose DIY Window Wood Trim Repair
Not every damaged window requires a professional contractor. Many repairs are well within the reach of a handy homeowner with basic tools.
DIY repair is highly feasible for:
- Small, localized pockets of rot (under 3 inches) that can be stabilized and filled with epoxy.
- Hairline cracks and minor splits along the grain of the wood casing.
- Refastening loose trim boards that have pulled away from the wall due to nail rust.
However, if you are working on a historic home in Tenafly or Cresskill, you must balance the convenience of modern materials with the preservation of historic character. Restoring original old-growth wood trim preserves the unique architectural details of your home and maintains its historic value. To understand the financial and aesthetic trade-offs of restoring original wood features versus replacing them, refer to our guide on the Cost to Restore Wood Windows.
Step-by-Step Guide to Repairing and Replacing Wood Trim
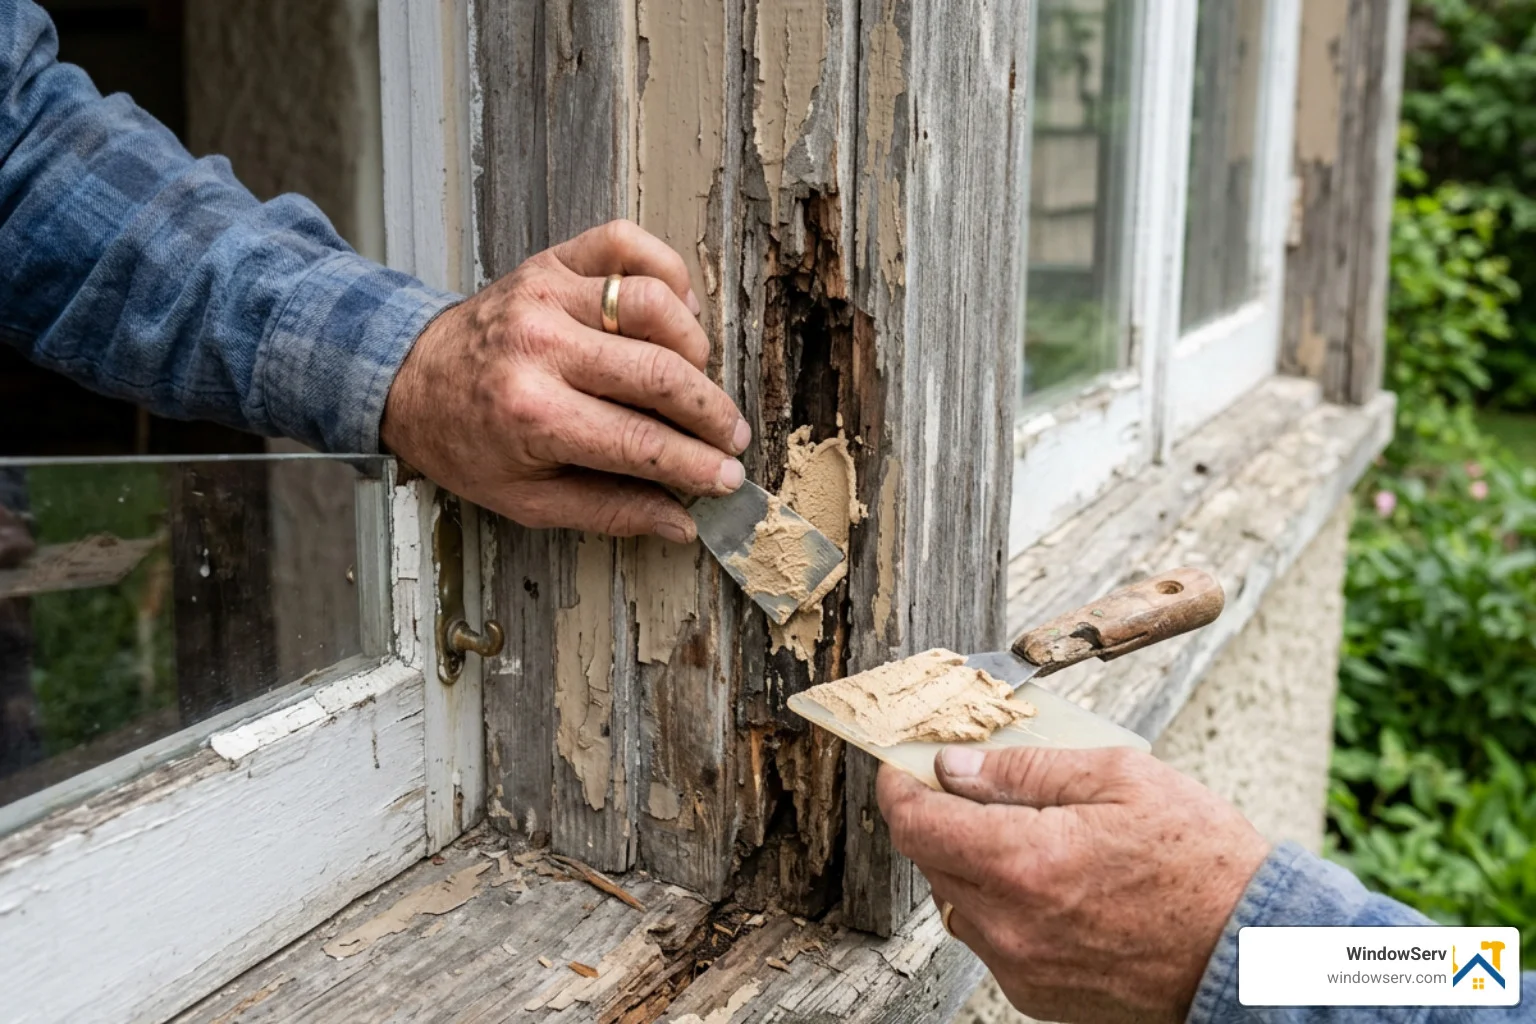
Whether you are patching a small rotted corner or replacing a complete board, successful window wood trim repair relies on meticulous surface preparation. If you skip steps in the cleaning and prep phase, your epoxy will fail to bond, and your paint will peel within a year.
Option 1: Repairing Small Rot Areas with Epoxy
For localized rot that has not compromised the structural strength of the entire window frame, a high-quality two-part epoxy repair is the most effective solution. This method allows you to preserve the original wood while creating a completely waterproof, durable patch.
Step 1: Remove the Rotted Wood
Using a paint scraper, wood chisel, or a rotary tool, scrape away all soft, spongy, and dark decayed wood. Do not stop at the edge of the visible rot; keep digging until you reach bright, clean, solid wood. If you leave even a tiny pocket of active rot behind, the fungal decay will continue to eat away at the wood beneath your repair.
Step 2: Apply Wood Consolidant
Once the cavity is clean and dry, apply a liquid wood consolidant (also known as a wood hardener). This thin, deep-penetrating liquid epoxy sinks into the pores of the remaining wood fibers, stabilizing them and turning soft wood into a rock-hard, waterproof base. Apply several coats with a disposable brush until the wood stops absorbing the liquid. Allow it to cure according to the manufacturer’s directions (usually 2 to 4 hours).
Step 3: Mix and Apply the Two-Part Epoxy Filler
On a clean mixing board (a scrap piece of plywood works perfectly), mix equal parts of your two-part epoxy resin and hardener. Mix thoroughly until the color is completely uniform. Using a plastic putty knife, press the epoxy firmly into the cavity, making sure to eliminate any air pockets. Overfill the repair slightly, as you will sand it down flush later.
Step 4: Shape and Sand the Repair
Once the epoxy has fully cured (typically 12 to 24 hours depending on the temperature), use 80-grit sandpaper on a sanding block to rough-shape the cured epoxy to match the profile of the surrounding wood. Switch to 120-grit sandpaper to smooth out the surface and feather the edges into the adjacent paint.
Step 5: Prime and Paint
Clean off all sanding dust. Apply a high-quality, oil-based exterior primer to the repaired area. Once the primer is dry, apply two coats of premium exterior acrylic latex paint to match the rest of your window trim.
If you are dealing with a more extensive frame issue, our step-by-step guide on how to Fix Window Frame provides additional instructions on restoring structural sills and side jambs.
Option 2: Replacing an Entire Trim Board or Window Stool
If the rot has spread across more than 30% of a trim board, or if the board is severely warped or split, full replacement is the smartest and most cost-effective path forward.
Step 1: Score and Remove the Old Trim
Use a utility knife to slice through the caulk line where the trim meets the siding and the window frame. This prevents the old caulk from tearing your siding or paint when you pull the board away. Insert a pry bar behind the trim board, placing a wooden block under the pry bar to protect your siding from damage. Gently pry the board off, removing any remaining nails with a hammer or pliers.
Step 2: Inspect the Rough Opening
With the trim removed, inspect the wall cavity and sheathing behind it. Look for signs of water leaking behind the siding. If you find rotted framing or missing house wrap, these structural issues must be repaired before you install the new trim board.
Step 3: Measure, Cut, and Pre-Prime
Measure the old trim board carefully. If you are cutting mitered corners (45-degree angles), cut your new piece slightly long and dry-fit it to ensure a tight, seamless fit. Once you are satisfied with the fit, pre-prime all six sides of the new board, including the cut ends. This is a critical step that many DIYers skip; priming the back and end grain of the wood prevents moisture from wicking into the board from behind.
Step 4: Install and Seal
Apply a bead of high-quality exterior adhesive to the back of the board. Position the board and secure it using exterior-grade casing nails or trim screws. Countersink the nail heads slightly below the wood surface. Fill the nail holes with exterior wood filler, sand them smooth, and seal all joints with paintable silicone caulk.
For detailed, advanced carpentry techniques on replacing the interior or exterior horizontal base of your window trim, read Replace Window Stool: Mastering the Perfect Finish (Expert Techniques) for a masterclass in milling and fitting.
Best Practices for Finishing and Preventing Future Damage
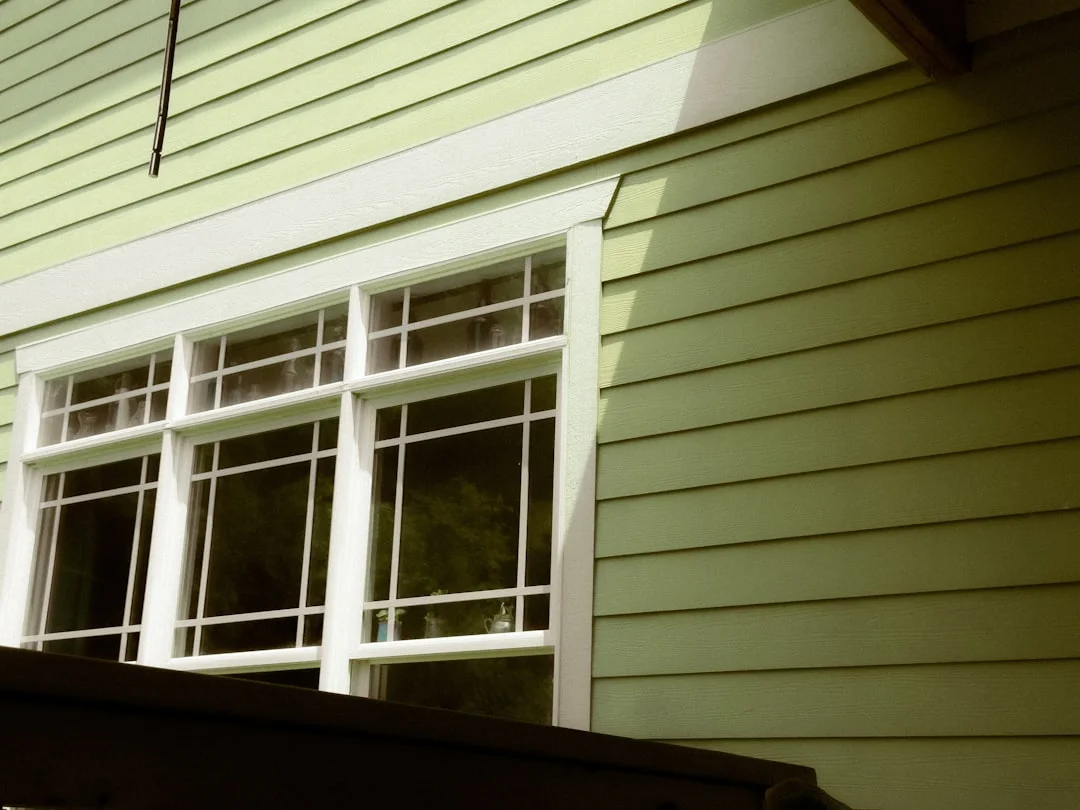
Completing the physical repair is only half the battle. To ensure your window wood trim repair lasts for decades rather than just a few seasons, you must establish a robust defense system against water and weather.
Sealing and Painting for Long-Lasting Protection
The paint and caulk on your window trim serve as the primary shield protecting the wood from New Jersey’s extreme weather. Follow these best practices to ensure your finishes stand up to the elements:
- Never Paint Over Wet Wood: Always use a moisture meter to verify that the wood’s moisture content is below 15% before applying primer or paint. Painting over damp wood traps moisture inside, guaranteeing paint failure and rapid rot.
- Use the Right Caulk: Apply a premium polyurethane or paintable silicone caulk to all joints where the wood trim meets siding, masonry, or the window frame. Avoid cheap latex caulks, which crack and shrink under temperature swings.
- Maintain a Painting Schedule: Inspect your exterior trim every spring and fall. Touch up any hairline cracks in the paint immediately before water can penetrate the wood. Plan to fully repaint your exterior wood trim every 3 to 5 years.
- Manage Surrounding Vegetation: Keep bushes, tree branches, and climbing ivy trimmed back at least 12 inches from your windows. Overgrown plants block sunlight and airflow, keeping your wood trim damp for extended periods.
To learn more about the critical relationship between proper drainage, flashing, and preventing wood decay, read our highly detailed guide on How to Replace Rotted Wood Around a Window to learn how to keep water moving away from your home’s exterior walls.
Frequently Asked Questions about Window Trim Repair
How do I know if my window trim is rotting?
You can identify rotting wood trim by looking for bubbling or peeling paint, dark water stains, or green mold growth. The most reliable test is the screwdriver test: gently press a flathead screwdriver into the wood. If it feels soft, spongy, or crumbles under light pressure, the wood is rotting and needs immediate repair.
Can I use Bondo for exterior wood trim repairs?
While standard Bondo is popular among some DIYers because it cures quickly, it is not recommended for long-term exterior wood repairs. Standard Bondo is a polyester-based filler that does not expand and contract at the same rate as natural wood, which often leads to the patch cracking and separating over time. For lasting results, always use a specialized, two-part epoxy wood filler designed specifically for architectural wood restoration.
When should I call a professional for window trim rot?
You should call a professional if the wood rot has spread into the window sill, side jambs, or the structural wall framing behind the trim. Additionally, if the window is difficult to open, close, or lock, or if you suspect lead paint is present (common in homes built before 1978), hiring a certified professional ensures the job is done safely and structurally.
Conclusion
Taking care of your home’s exterior trim is one of the smartest investments you can make as a homeowner. By tackling window wood trim repair early, you protect your home’s structural integrity, boost its curb appeal, and prevent water damage from spreading deep into your walls.
At WindowServ, we specialize in providing comprehensive window repair, replacement, and restoration services across New Jersey — including Bergen, Essex, Hudson, Middlesex, Monmouth, and Union counties. Our local experts are dedicated to saving your original window frames whenever possible, helping you cut down on waste and achieve up to 30% in energy savings. We stand behind our work with a 100% satisfaction guarantee.
If you suspect your windows are suffering from wood rot and want the peace of mind that comes with professional restoration, we are here to help. Schedule professional window wood rot repair with our expert team today, and let us protect your home for years to come.